How to Make Columns in Notion (+ Vertical Divider hack)
Notion is a popular productivity and organization tool that allows users to create databases, notes, and wikis, all in one place. It's a versatile tool that can be used for personal or professional purposes, and it's easy to use for anyone who wants to increase their productivity.
In this blog post, I’ll explain how you can make columns in Notion and I’ll provide different use cases & examples.
How to Make Columns in Notion
Columns are a useful feature in Notion that allows you to organize your data in different sections. This is particularly helpful if you want to create beautiful shared or private Notion pages.
There are two ways to build columns in Notion:
1. Use the /2c shortcut
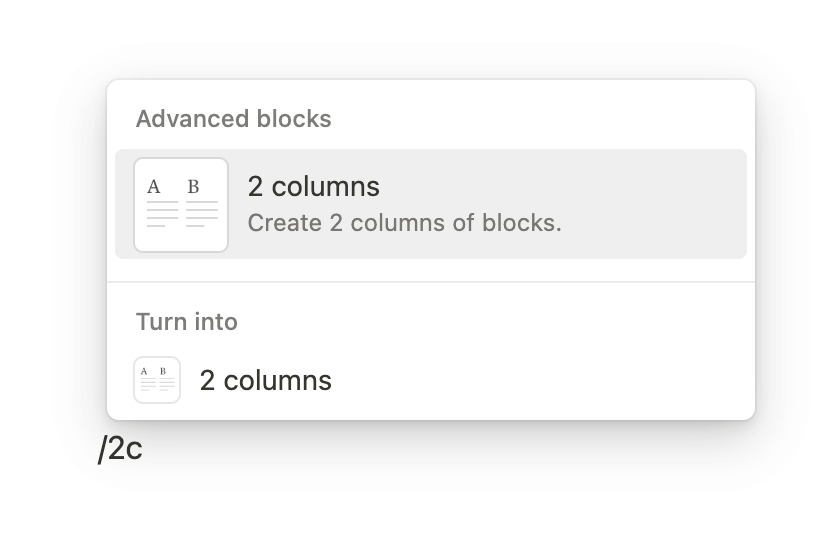
To create columns in a document, go to the block where the columns should appear and type /2c, then press enter. This will automatically create 2 columns. If you want 3 columns, type /3c, for 4 columns, type /4c, and so on. You can add up to 5 columns using this shortcut.
You can can download my Notion keyboard shortcuts cheatsheet here.
2. Drag & Drop Blocks
If you already have blocks (text, images, callouts, etc.), you can easily create columns by dragging and dropping them to the left or right of each element.
Resize columns

By default, Notion will automatically splits the columns in two same-size sections. But you can play with the vertical divider to resize theses columns as you prefer.
Notion Vertical Divider
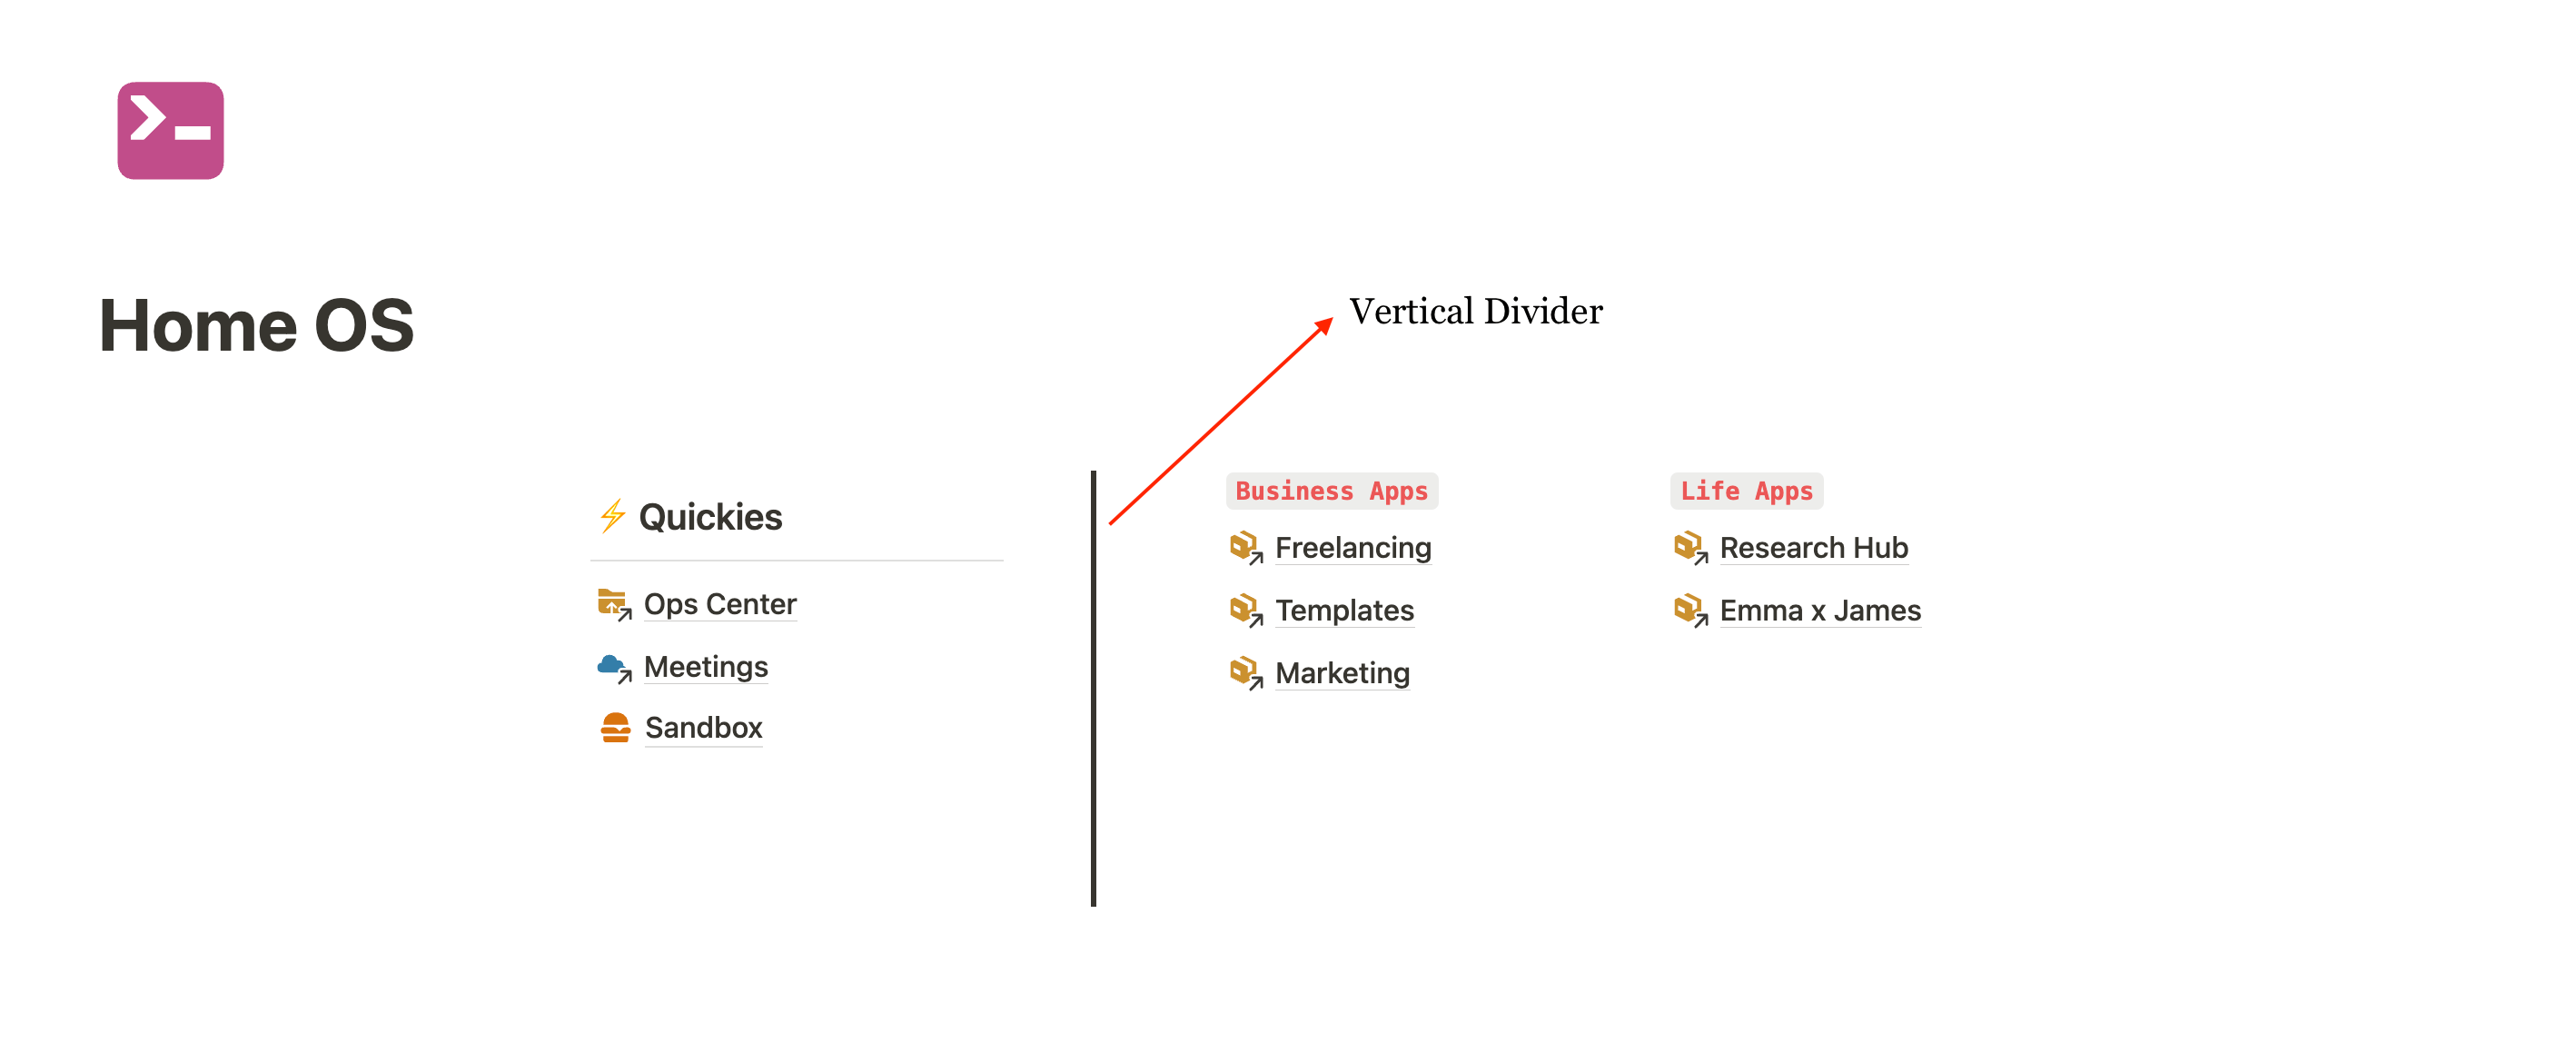
If you want to visually separate two columns with a divider, there's a simple hack you can try. Above is an example of what it looks like on my homepage.
To create a vertical divider, follow these steps:
- Create at least 3 columns (/3c shortcut), including one extra column for the divider if necessary
- Add your left elements to the first column and your right elements to the third column
- In the middle column, add a quote block (/quote shortcut)
- Press "Enter" as many times as necessary to create the desired height for the divider, but do not write any text inside the quote block
- Resize your columns so that the divider appears in the middle
See it in action:
Use Cases & Examples
Columns in Notion can serve a variety of use cases and can make your pages look better. Here are a few examples of how you can use columns to improve your pages:
Custom Notion Navigation Bar
You can use columns to create an in-app navigation bar. To be honest, I almost never use Notion’s native navigation bar because I find it hard to locate specific pages. Instead, I create my own navigation bar for each specific project.
Take a look at my Blog & Newsletter planner:
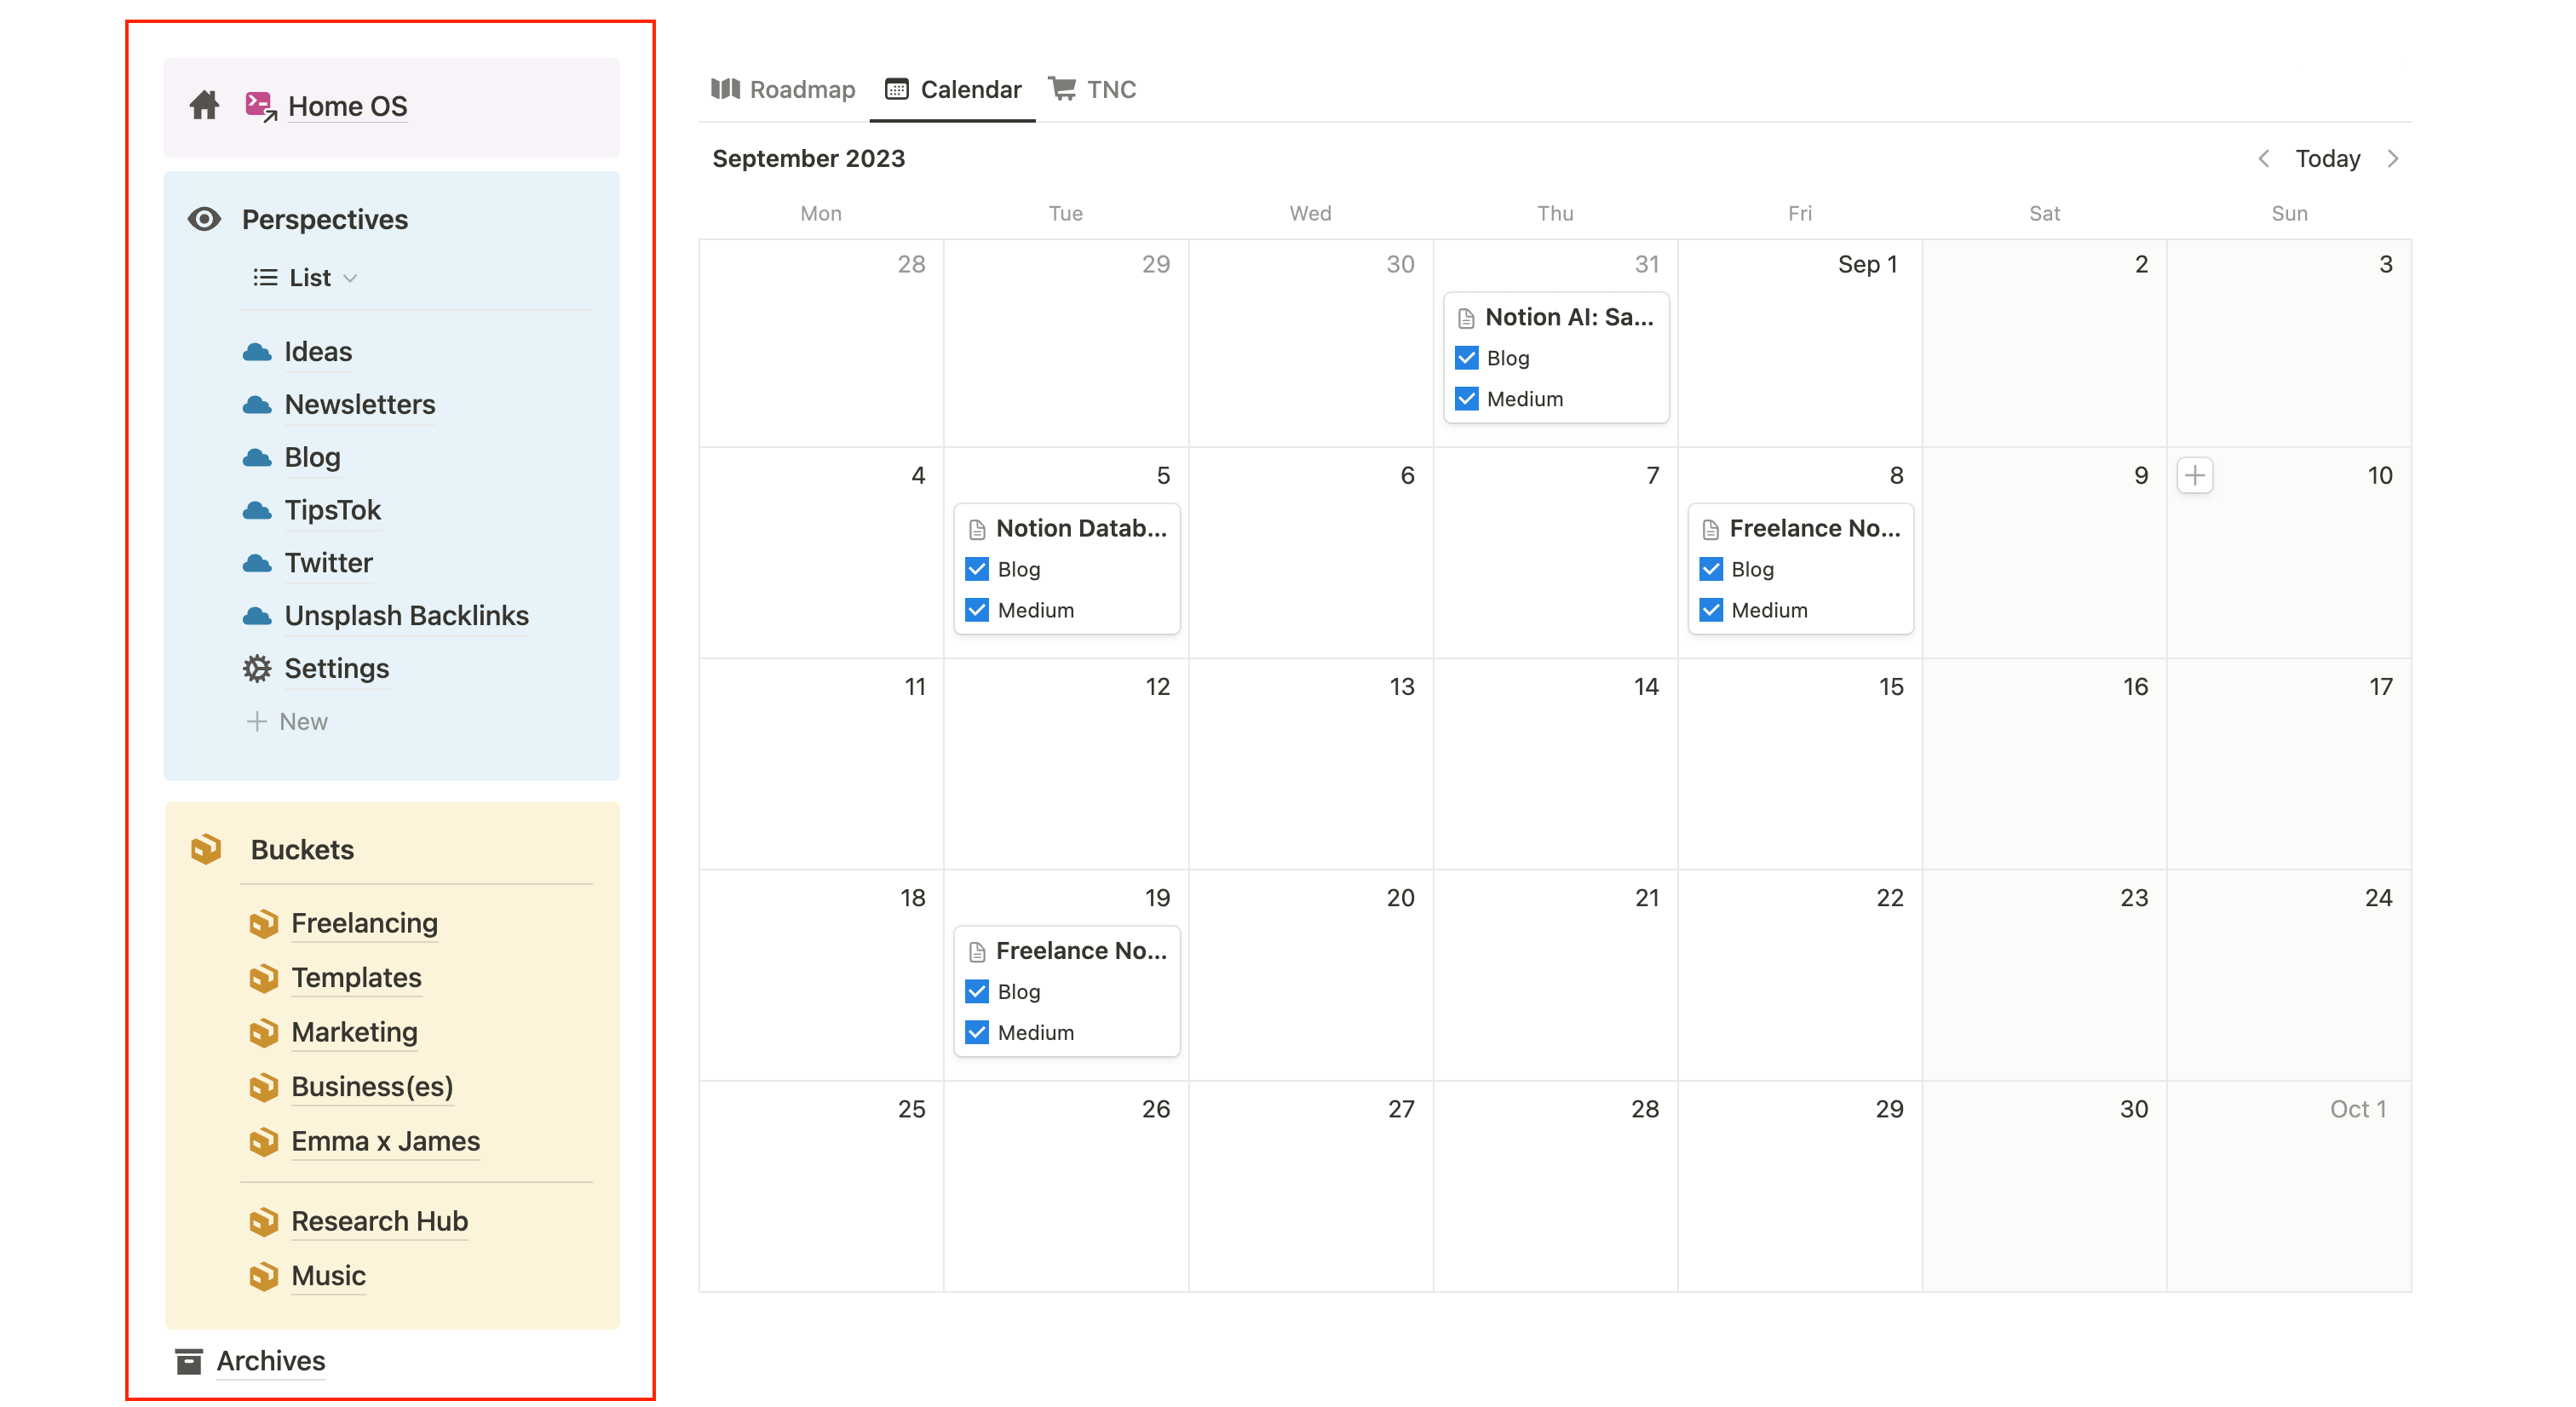
Using the Perspectives Method and Notion synced blocks, I have a navigation bar on the left that enables me to access any page from my workspace. This is super handy for quickly switching pages and accessing everything in just one click.
Columns in a Blog post
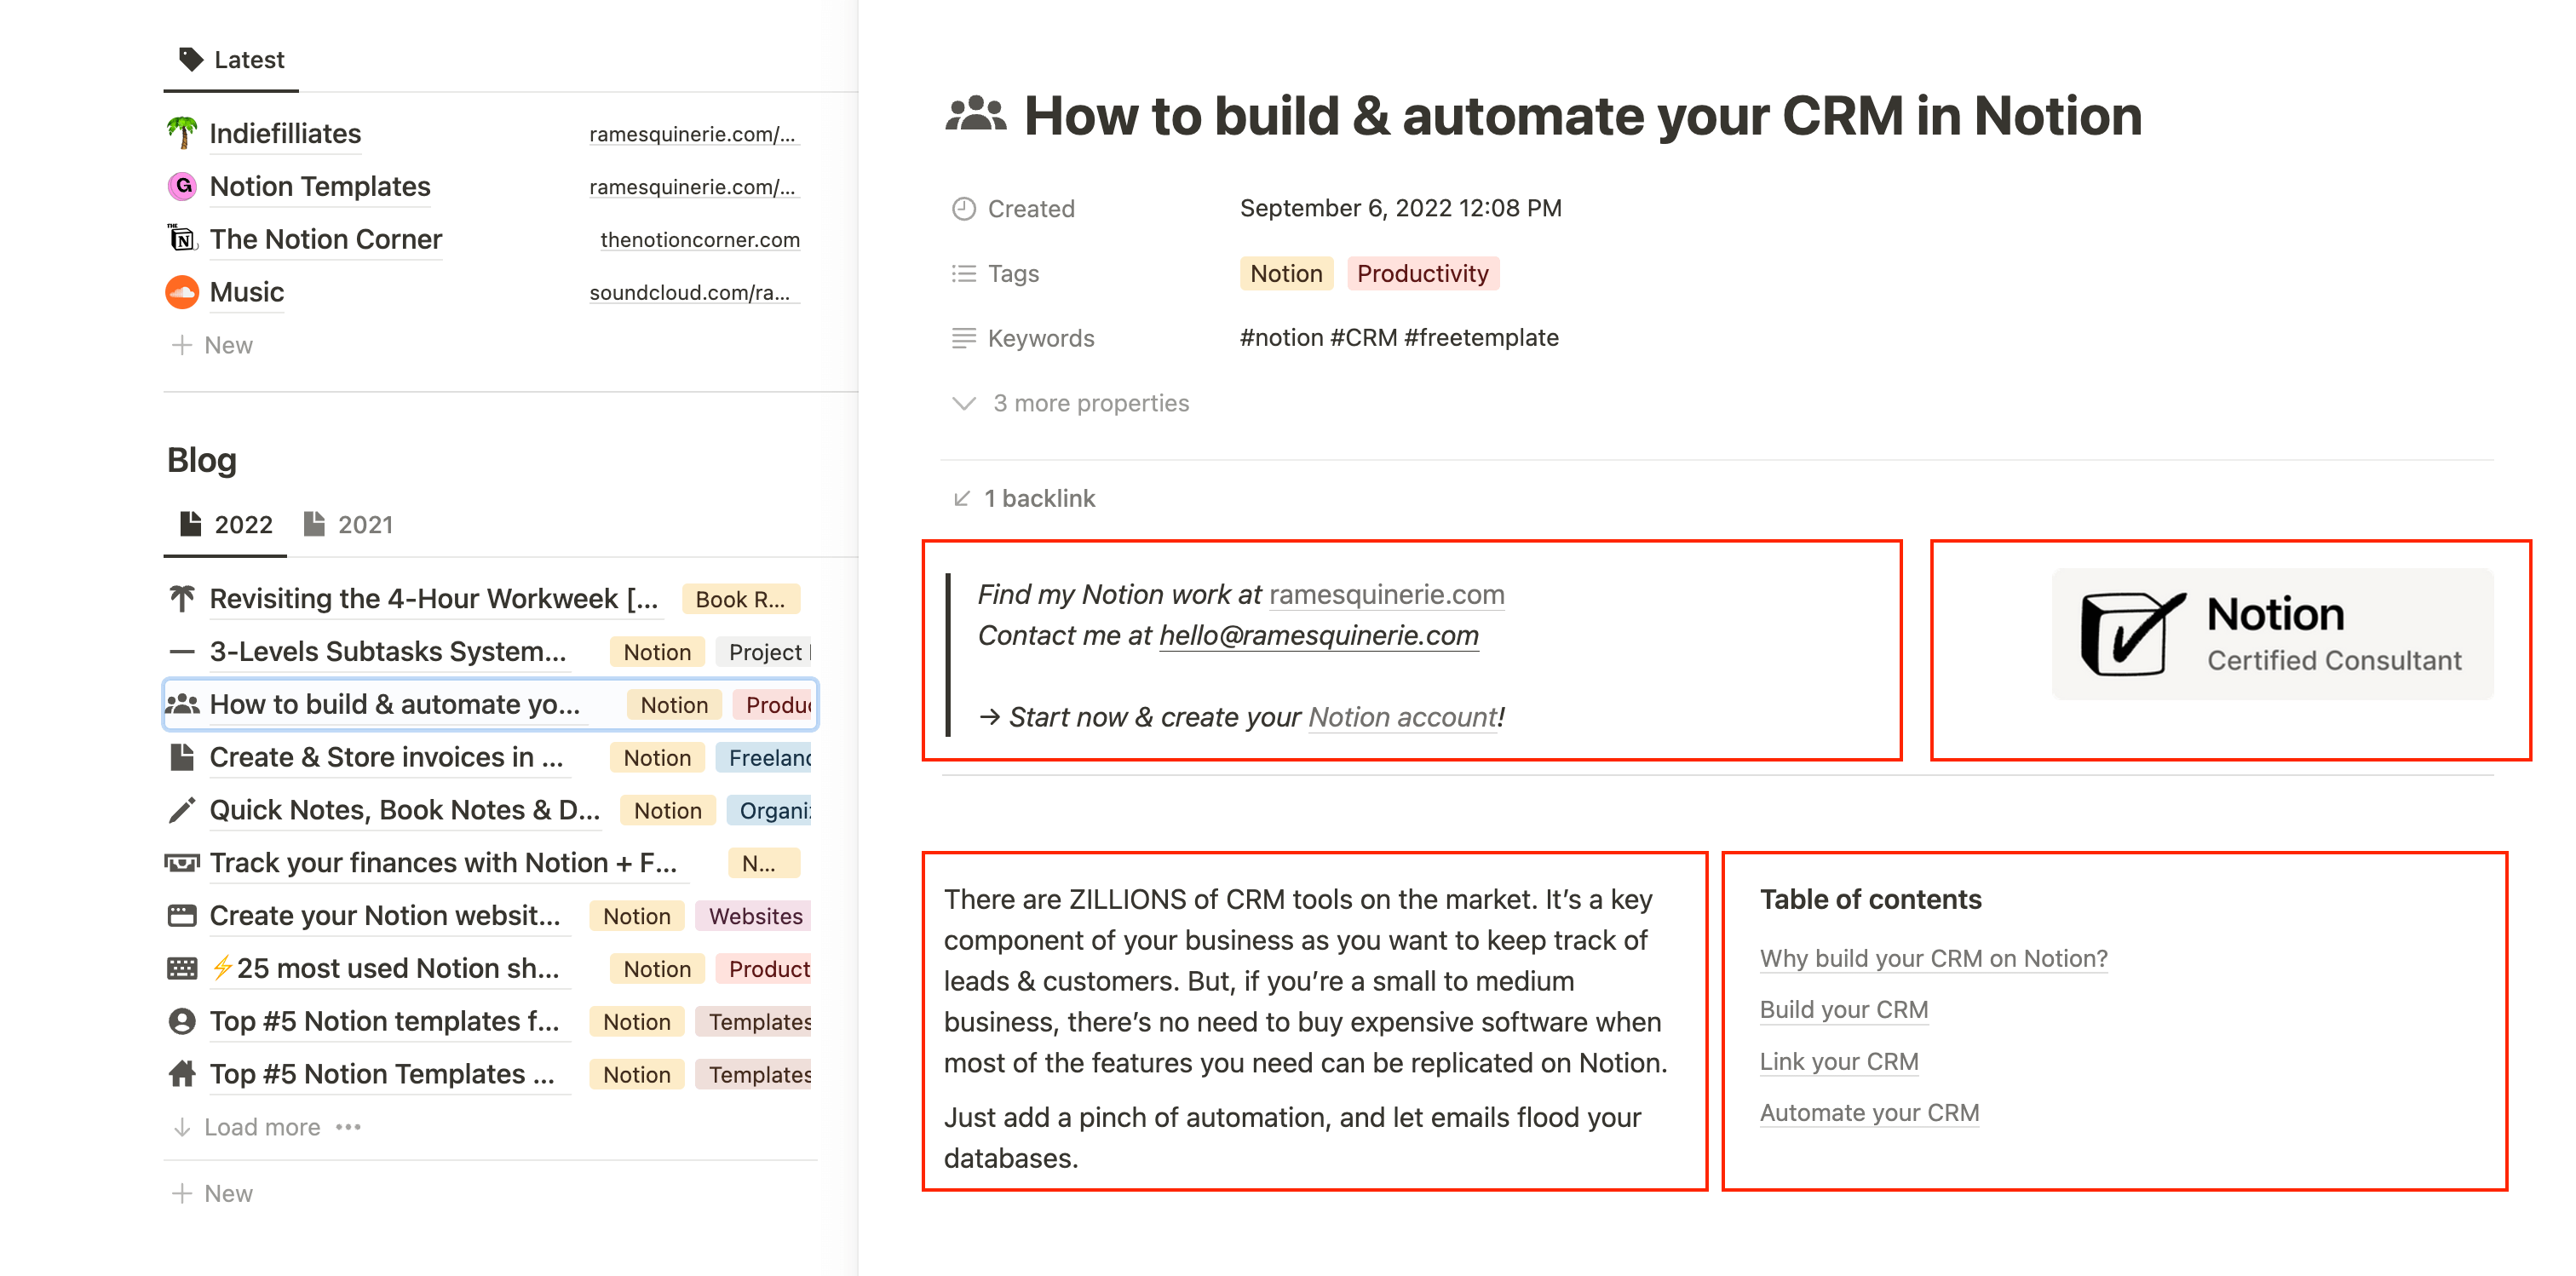
If you have a blog hosted on Notion (check how you can create your Notion website for free), you can greatly benefit from using columns. When writing a post, you can add text to the side of an image to provide more context or place your table of contents to the right of your introduction. Notion columns not only make your pages more visually appealing, but they are also super useful for creating sections.
My old blog used to be hosted on Notion, and this is the layout I used most of the time:
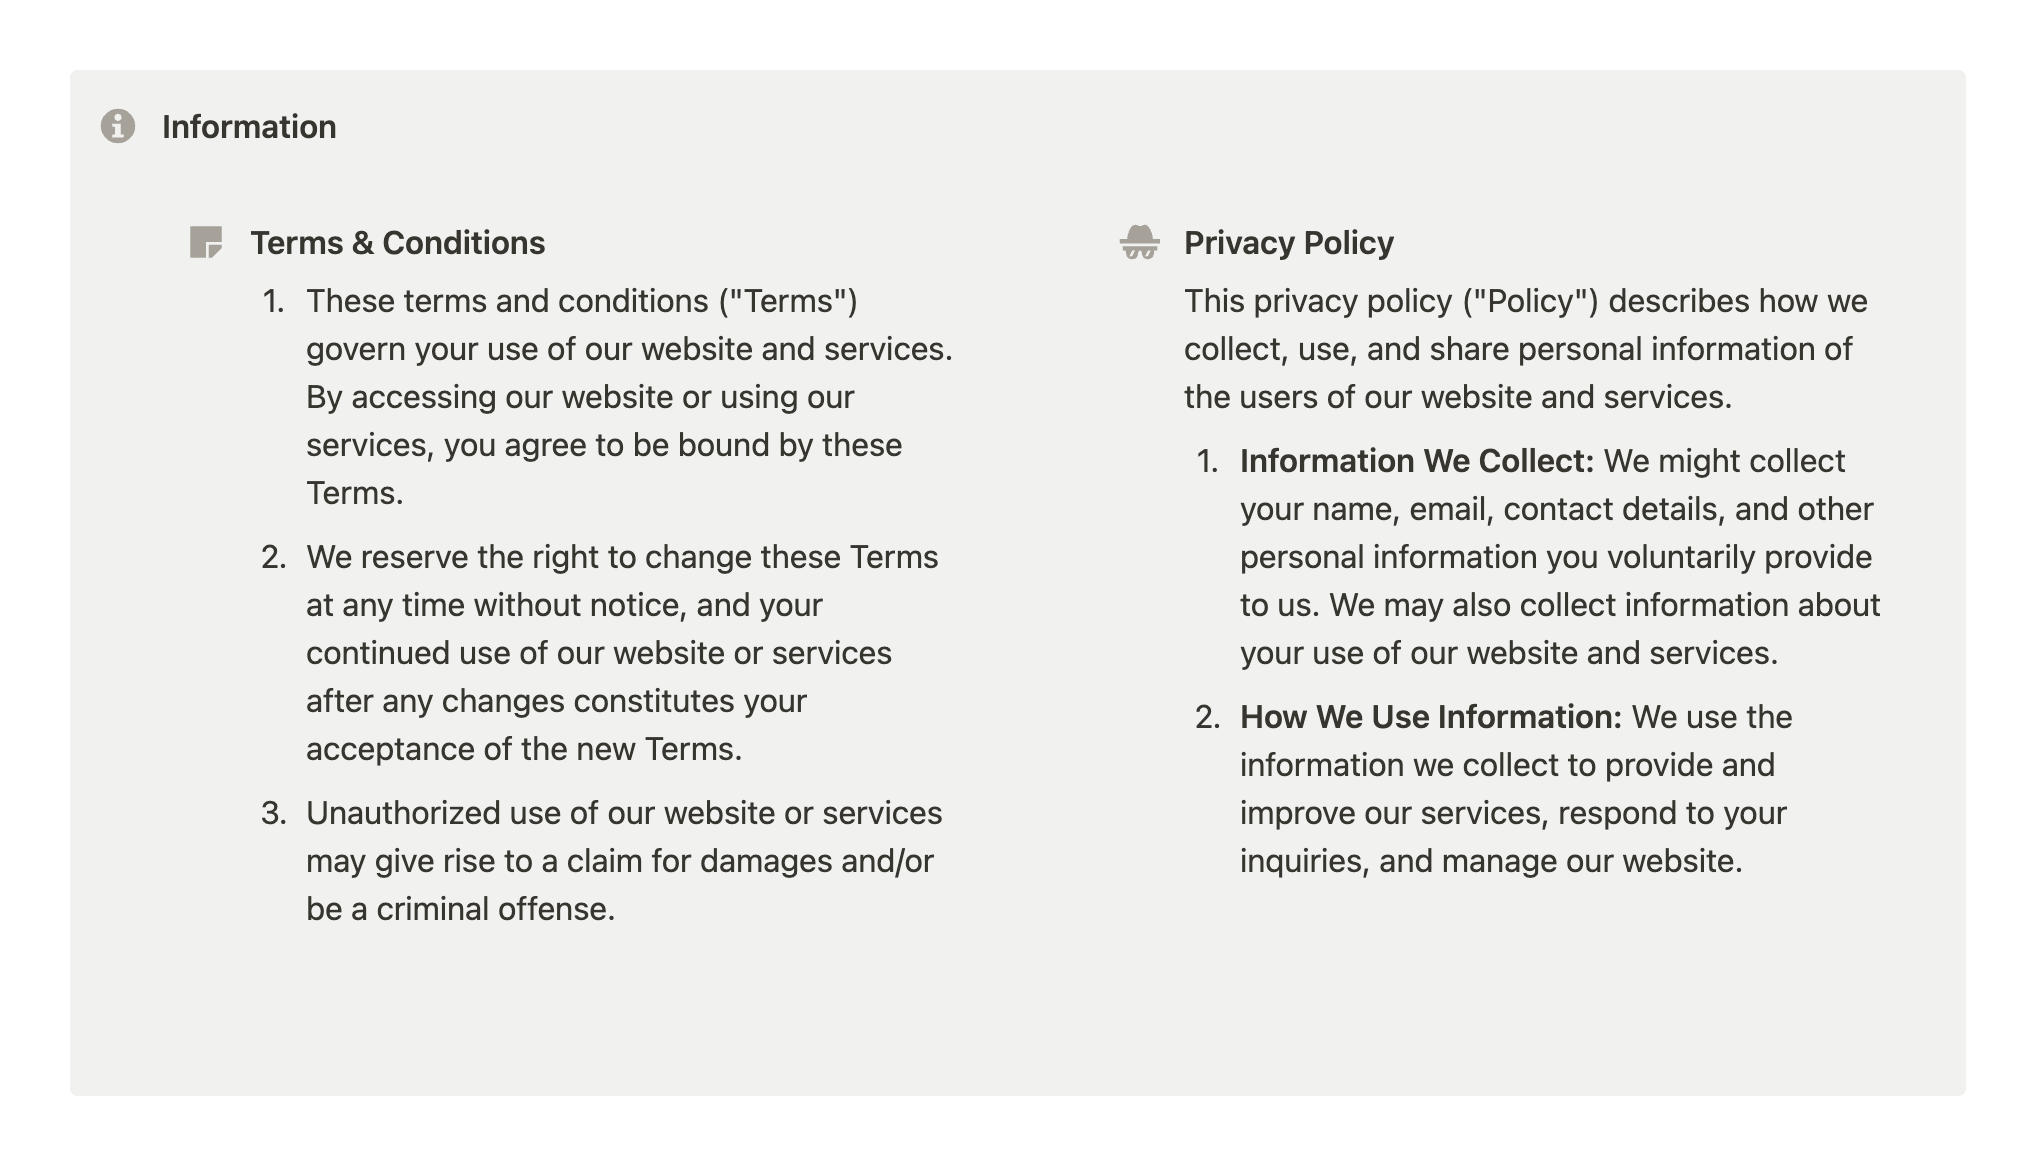
Columns in Callouts
Columns can be added almost anywhere, including in callouts.
Add Column to Board
Unrelated to the "classic" in-page columns, but because many ask about it, here's how you can add columns to your board database.
A board database is always grouped by something: status, type, person, etc. Each column represents one of these property options. So, to add a new column to your Notion board, you need to add a new option.
Let's say we have a Kanban board database for my tasks, grouped by status. I want to add an "Abandoned" column.
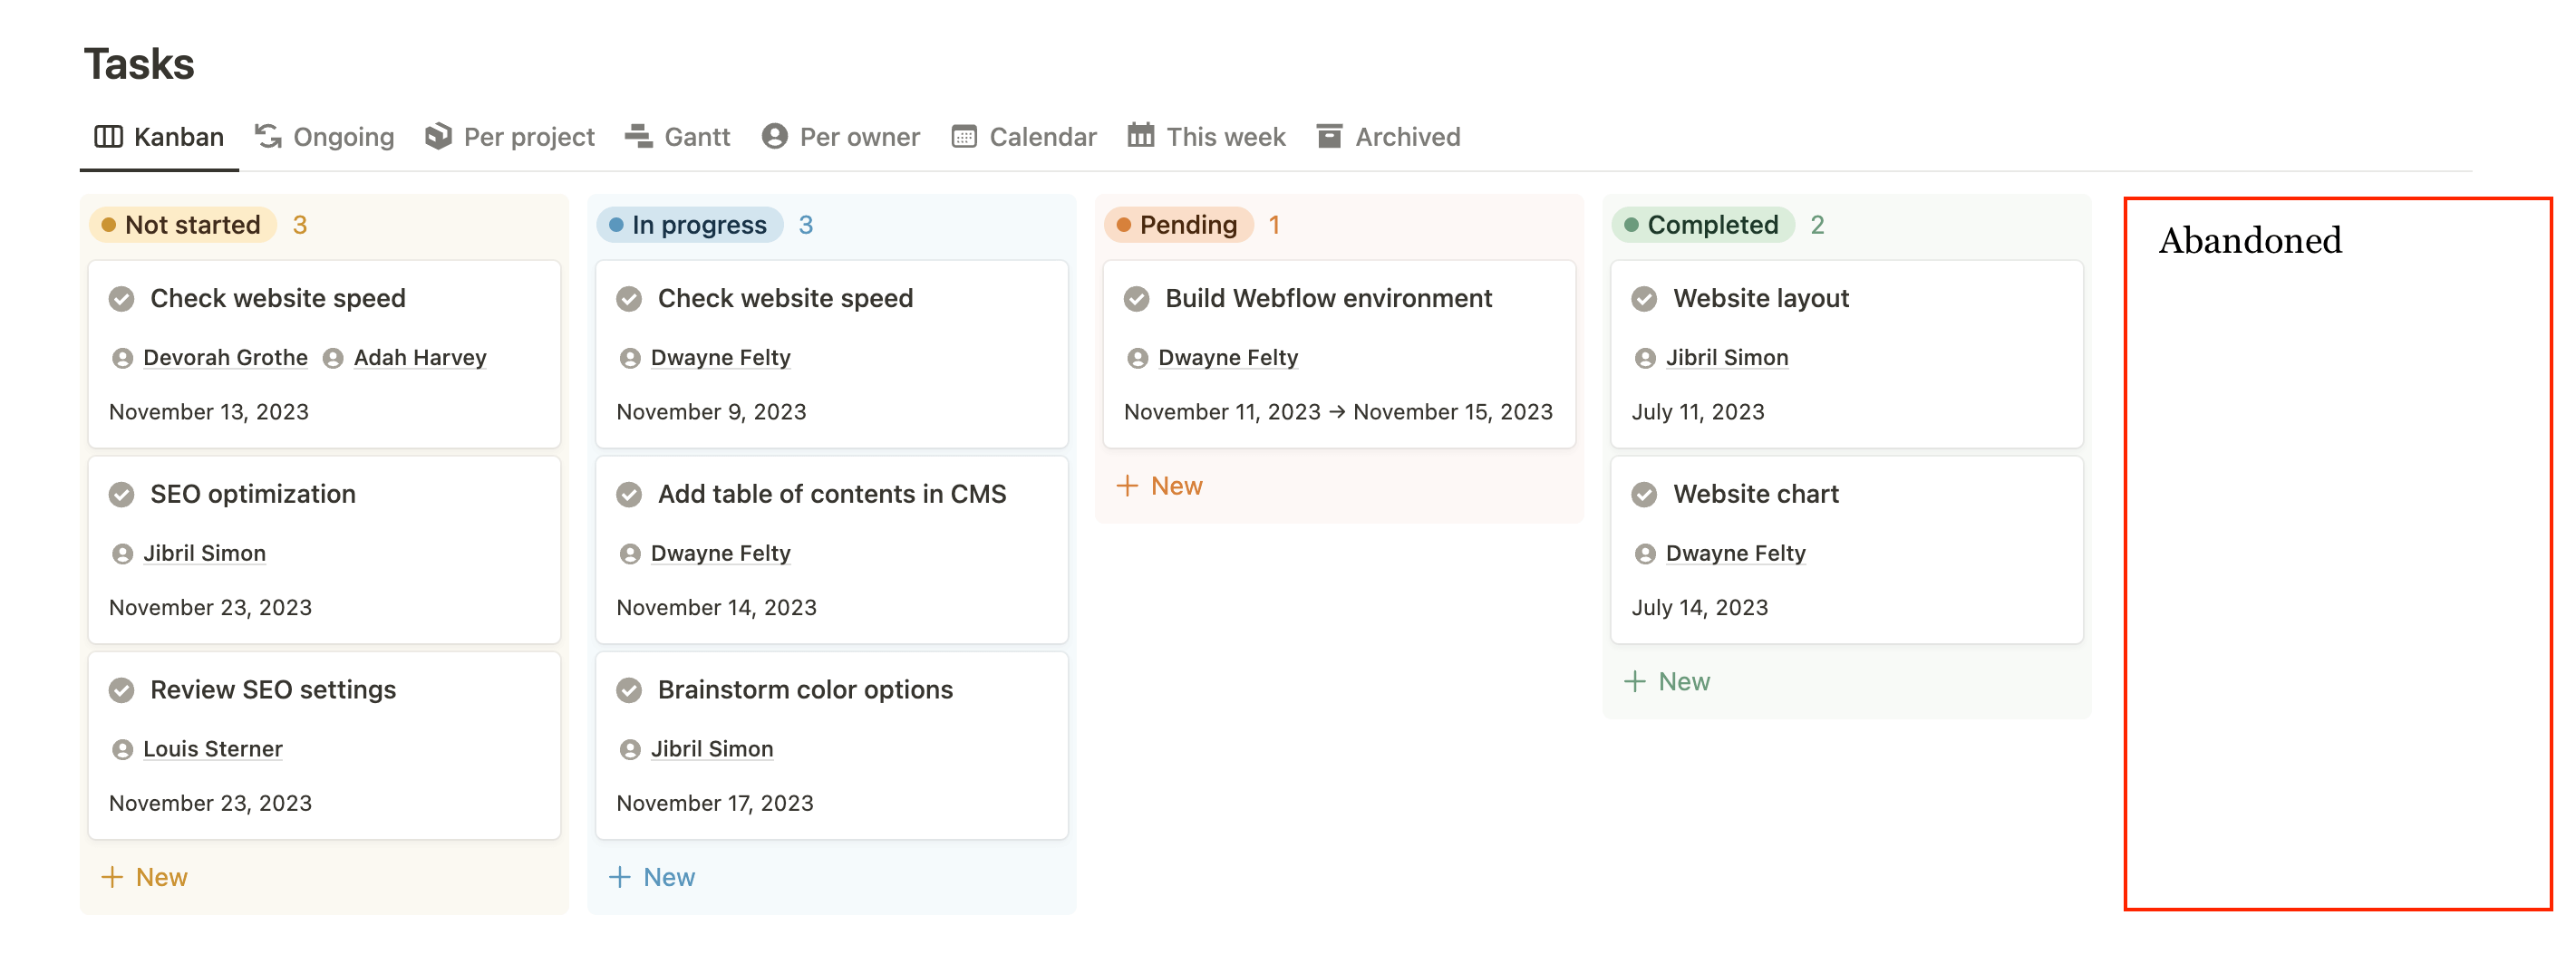
All I have to do is go to my Status property and add "Abandoned" as an option.
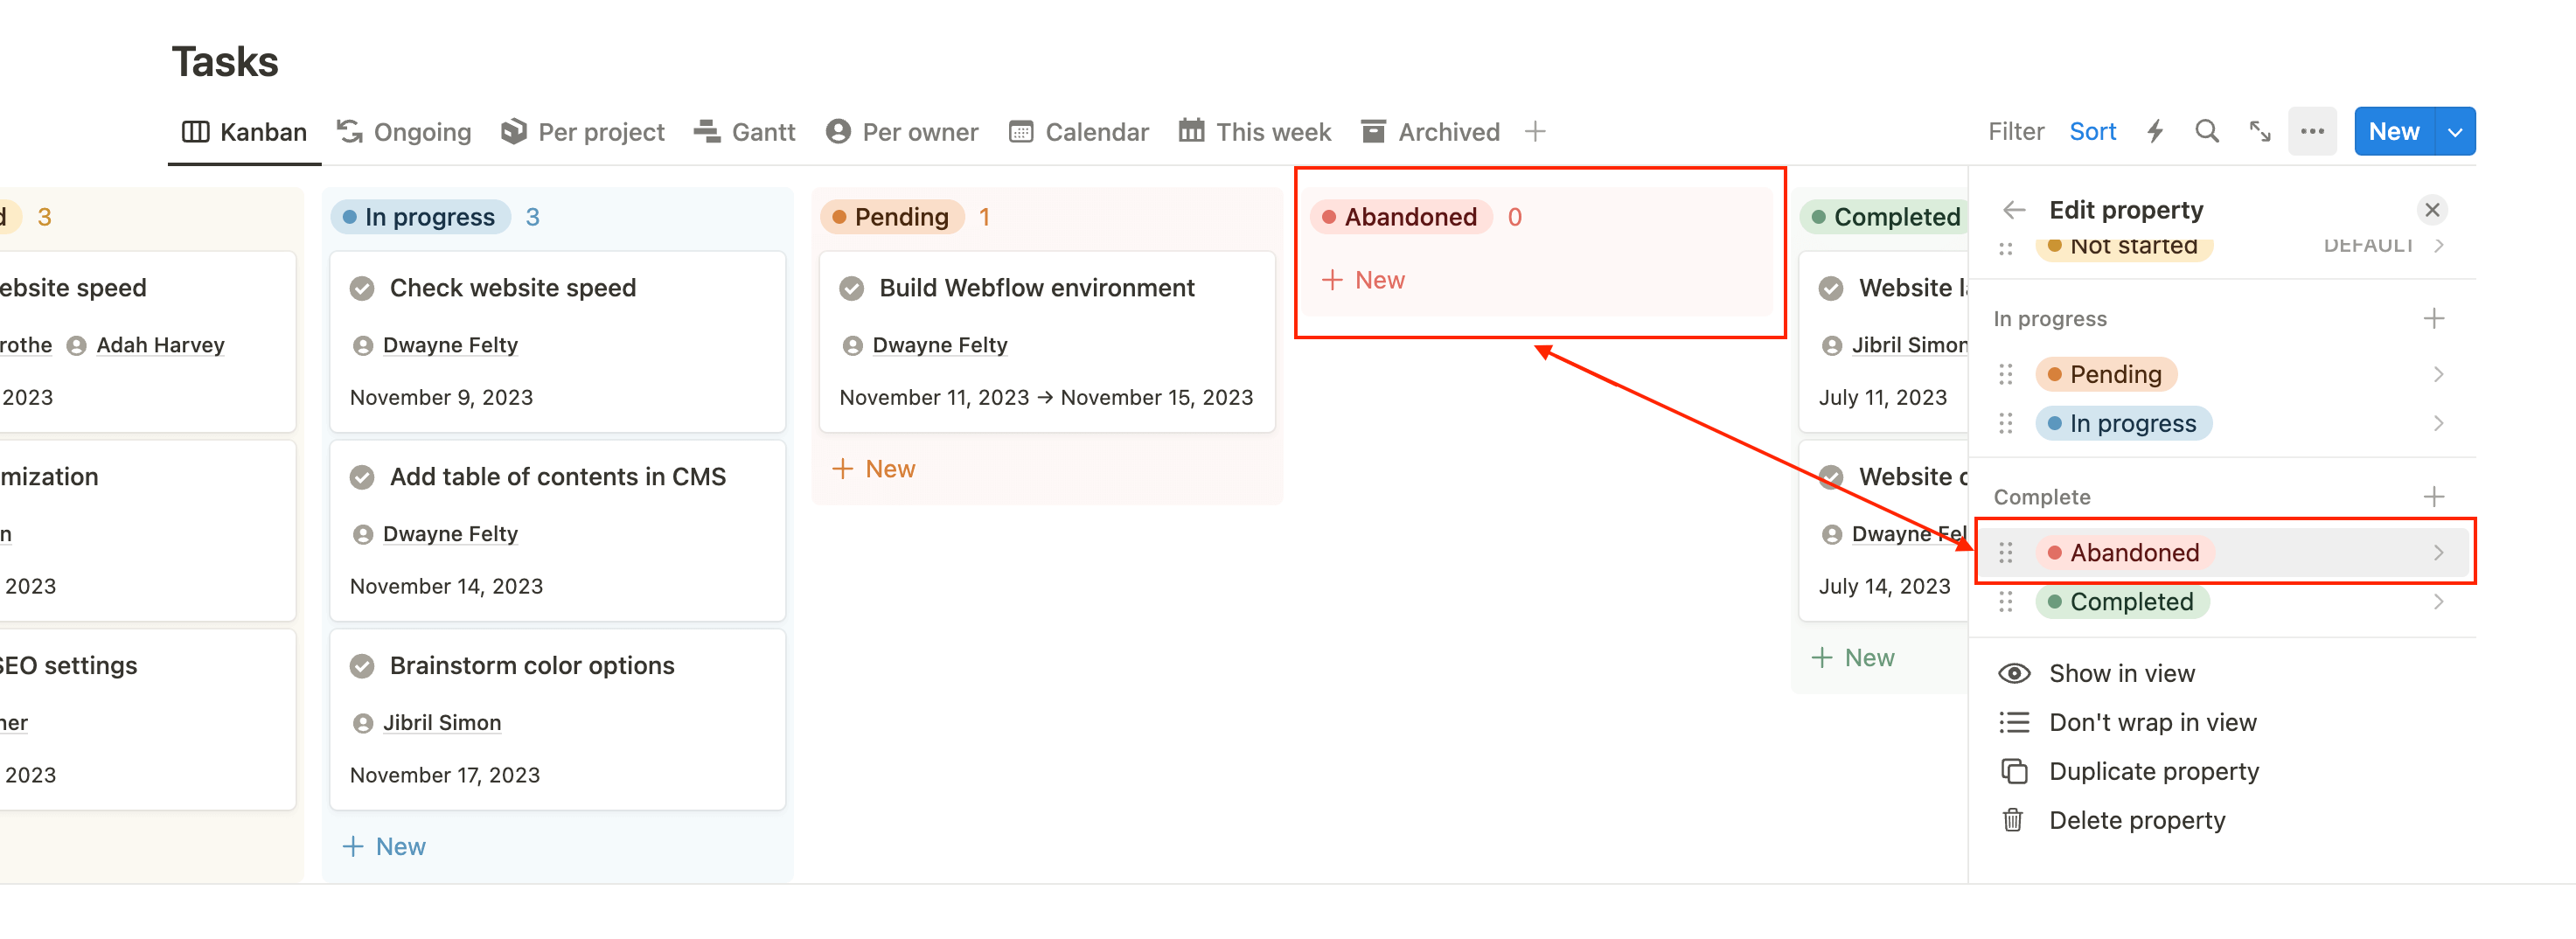
The same goes for any other types of properties (relation, select, person, etc.).
Conclusion
In conclusion, columns are a great way to organize your data and make your Notion pages more visually appealing. Whether you're creating a navigation bar or adding context to an image, there are many ways you can use columns to improve your pages. And with the vertical divider hack, you can even separate your columns with a visible line. So go ahead and try out columns in Notion for yourself!
Start now & create your Notion account 🙃
(#NotionPartner)
There are two ways to create columns in Notion. The first way is to use the /2c shortcut. To do this, go to the block where the columns should appear, type /2c then press enter. This will automatically create 2 columns. You can add up to 5 columns using this shortcut. The second way is to use the Drag & Drop feature. If you already have blocks like text or images, you can easily create columns by dragging and dropping them to the left or right of each element.
By default, Notion will automatically split the columns in two same-size sections. However, you can resize the columns manually. You can do this by playing with the vertical divider to resize the columns as you prefer.
To create a vertical divider in Notion, follow these steps: Firstly, create at least 3 columns (/3c shortcut), including one extra column for the divider if necessary. Add your left elements to the first column and your right elements to the third column. In the middle column, add a quote block (/quote shortcut). Press 'Enter' as many times as necessary to create the desired height for the divider, but do not write any text inside the quote block. Lastly, resize your columns so that the divider appears in the middle.
Latest posts
Templates that (truly) work